

You are here
Uploading Files into the eLicensing System
Overview
Virtually all CDE applications require that you upload electronic versions of various documents. This resource will give you some general best practices and techniques for using the upload controls in the eLicensure system.
Also, note that you can only upload one document at a time into the eLicensure system. So, you will likely need to repeat the steps described below several times until you have uploaded all required documents into your online application.
Upload Steps
We'll assume that you've saved your file(s) to your computer, USB drive or disc. You'll probably want to create a folder of these documents for your permanent retention.
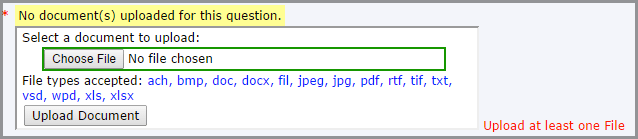
- Note the Upload box shown below. Its appearance and labels may vary slightly from browser to browser, but the functionality will always be the same. It will always remind you of the file types that can be uploaded (ach, bmp, doc, docx, fil, jpeg, jpg, pdf, rtf, tif, txt, vsd, wpd, xls, and xlsx). Keep in mind that you cannot upload .zip files. The controls will clearly indicate when a document has not been uploaded.
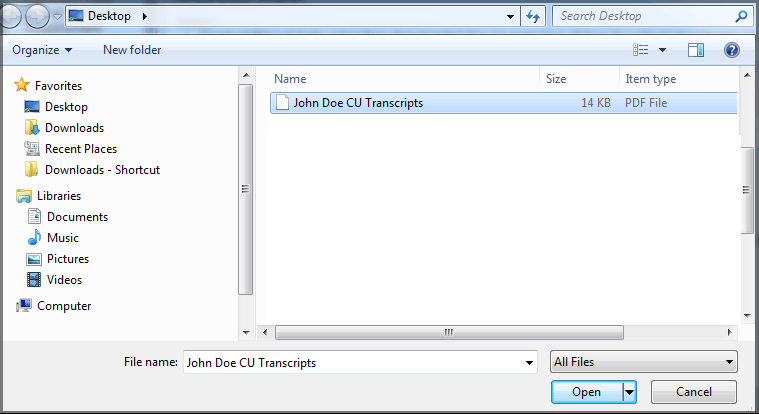
- From the upload box inside the application, click on Browse/Choose File. You'll see a standard file location dialog box that you can use to find and Open the file you saved earlier onto your computer.
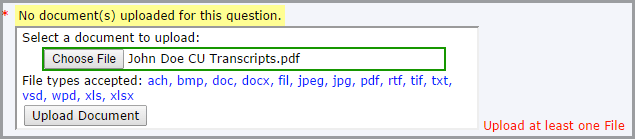
- Once you have located the file click Upload Document in the application.
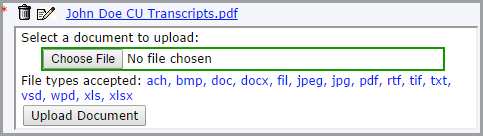
Once you successfully uploaded the file, the title will show in blue text just above the upload box. Always click on the link after you have uploaded your document to open and view it. This ensures that it is the document you intended on uploading. (CDE has received family photos, loan applications and many other documents that do not pertain to a person’s application!)
Notes
- As noted previously, to upload your additional documentation you will repeat the above steps until you have uploaded all documents.
- If you make a mistake and upload the wrong file, click on the trash can icon located next to the file you uploaded and it will be removed.
- To edit the name of file, click the icon next to the trash can.
- Do not upload all of your uploads as one file into one section. The files uploaded must pertain to the corresponding section of the application that is requiring them.
Financial information on schools and districts throughout Colorado. Learn more about financial transparency.
Educator Talent - Licensing:
COOL Online Licensing Support Form
(or call 877-314-1412)
UPDATED
January 14, 2015
Copyright © 1999-2025 Colorado Department of Education.
All rights reserved.
Title IX.
Accessibility.
Disclaimer.
Privacy.

Connect With Us


